Image Source: Google
Do you dread taking a shower in the morning, fearing that the water will be ice cold? If so, it might be time to consider replacing your water heater. A malfunctioning or old water heater can cause a multitude of problems, including inconsistent water temperature and high energy bills.
1. Determine the Type of Water Heater
The first step in the water heater replacement process is determining the type of water heater that suits your needs. There are three main types: tankless, storage tank, and heat pump water heaters. Tankless water heaters provide hot water on demand, while storage tank water heaters store and heat a specific amount of water.
Heat pump water heaters are energy-efficient alternatives that use electricity to move heat from the air or ground to heat the water. Consider your household size and hot water usage to choose the right type of water heater.
2. Calculate the Water Heater Size
Once you have determined the type of water heater, you need to calculate the size that is appropriate for your household. The size is determined by the number of people in your household and their hot water usage. Generally, a 40-gallon water heater is suitable for a family of four.
3. Consider Energy Efficiency
Energy efficiency is an important factor to consider when replacing your water heater. Older models tend to be less energy-efficient, resulting in higher energy bills.
Look for water heaters with an Energy Star rating as they meet strict efficiency standards and can save you money in the long run. Tankless and heat pump water heaters are generally more energy-efficient alternatives compared to traditional storage tank water heaters.
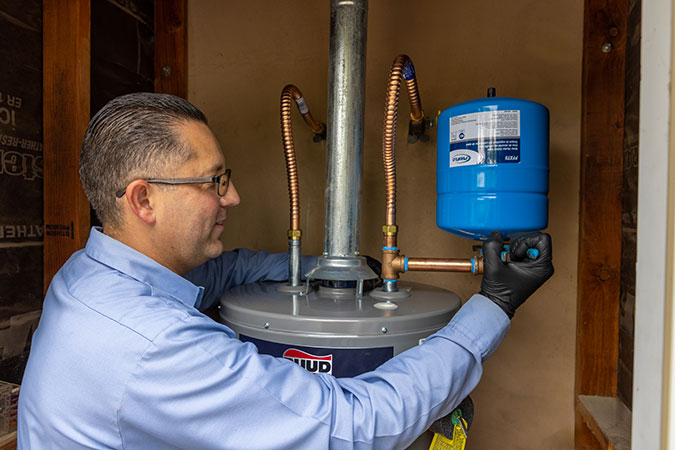
4. Hire a Professional
While it may be tempting to attempt a DIY water heater replacement to save money, it is highly recommended to hire a professional plumber for this task.
Water heater installation involves plumbing and electrical work, and any mistakes can lead to water leaks or electrical hazards. Professional plumbers have the expertise and knowledge to safely and efficiently replace your water heater, ensuring that it is properly installed and functions correctly.
5. Prepare for the Replacement
Prior to the water heater replacement appointment, make sure to prepare your home. Clear the area around the water heater to provide easy access for the plumber. If your previous water heater was leaking, be sure to clean up any water and dry the area to prevent accidents. Additionally, check if any permits are required for water heater replacement in your area.
6. Remove the Old Water Heater
During the replacement process, the old water heater will need to be removed. The plumber will disconnect the plumbing and electrical connections and drain the old heater. They will then carefully remove the old unit and dispose of it properly. It is important to let the professional handle this step to ensure safety and prevent any damage to your property.
7. Install the New Water Heater
Once the old water heater has been removed, the plumber will install the new water heater. They will connect the plumbing and electrical components, ensuring that everything is properly sealed and secured. The new water heater will be filled with water and checked for any leaks.
By following this ultimate guide to water heater replacement, you can ensure a smooth and successful transition to a new and efficient water heater. Say goodbye to cold showers and hello to comfort and savings!